Introduction
As our planet faces increasing water scarcity, the importance of smart water conservation practices cannot be overstated. One of the most effective methods of conserving water is through rain harvesting systems. By collecting and utilizing rainwater, homeowners can significantly reduce their dependence on municipal water supplies. In this article, we will explore some of the best DIY rain harvesting systems that not only focus on efficiency but also emphasize advanced joinery techniques, precision, and a professional finish.
Understanding Rain Harvesting Systems
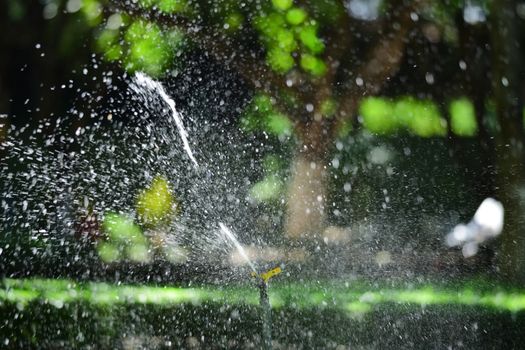
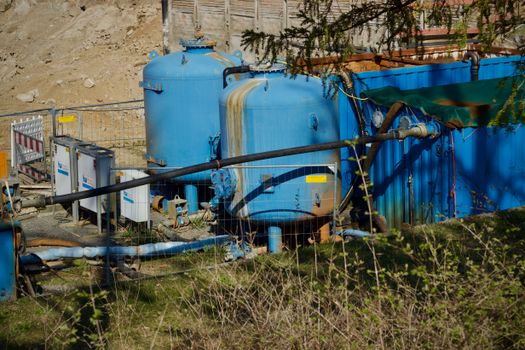
Rain harvesting systems are designed to capture and store rainwater for various uses, including irrigation, flushing toilets, and even potable water when properly filtered. The key components of a rain harvesting system include a catchment area (usually the roof), gutters, downspouts, a storage tank, and a distribution system. To build an effective rain harvesting system, attention to detail and craftsmanship is paramount.
Key Considerations for DIY Rain Harvesting
- Catchment Area: Ensure that the surface area used to collect rainwater is clean and made from non-toxic materials.
- Gutter Design: Use seamless gutters to minimize leaks and maximize water collection efficiency.
- Storage Tank: Select a durable storage tank that is UV resistant and made from food-grade materials.
- Filtration System: Implement a multi-stage filtration system to ensure the harvested water is safe for its intended use.
- Overflow Management: Design an overflow system to prevent flooding and ensure proper drainage during heavy rains.
Advanced Techniques for Building Your Rain Harvesting System
To achieve a professional finish in your DIY rain harvesting system, consider the following advanced techniques:
Joinery Techniques
Using precise joinery techniques can enhance the durability and aesthetics of your rain harvesting system. Here are some methods to consider:
- Dovetail Joints: For wooden components, dovetail joints provide both strength and visual appeal. They are particularly useful for constructing a wooden frame for the storage tank.
- Mortise and Tenon Joints: This traditional joinery technique ensures a strong connection between different parts of the frame. It is essential for the structural integrity of your system.
- Box Joints: If you are working with plywood for your storage tank, box joints offer a clean and professional look while maintaining strength.
Precision in Measurements
Accurate measurements are crucial to ensure that all components fit together seamlessly. Here are some tips to achieve precision in your build:
- Use a T-square: This tool will help ensure that your cuts are square and your joints fit tightly.
- Calipers and Measuring Tapes: Invest in a good set of calipers for precise measurements, especially when cutting pipe or fitting components.
- Test Fit Components: Before final assembly, always do a dry fit of components to check for any adjustments needed.
Finishing Touches
The finishing touches of your rain harvesting system can greatly impact its overall look and functionality. Consider the following:
- Sealing Joints: Use high-quality sealants to waterproof joints and prevent leaks.
- Painting and Staining: Apply a durable, weather-resistant paint or stain to wooden components for added protection against the elements.
- Labeling: Clearly label components such as filters and outlets for easy maintenance and operation.
Tools and Materials Needed
To build your DIY rain harvesting system, gather the following tools and materials:
- Tools:
- Drill and drill bits
- Circular saw
- Measuring tape
- T-square
- Calipers
- Screwdriver set
- Pipe cutter
- Paintbrushes and rollers
- Materials:
- Gutters and downspouts
- Storage tank (plastic or metal)
- Filtration system components
- Wood (for frames and supports)
- Sealants and paints
Getting Started with Your Rain Harvesting System
Before you dive into constructing your rain harvesting system, it might be beneficial to check out comprehensive plans and designs. A resource like Ted Water System offers detailed plans that can guide you through the entire process, ensuring you have all the necessary components and techniques at your disposal.
Conclusion
Building a DIY rain harvesting system can be a rewarding project that not only helps conserve water but also enhances your home's sustainability. By implementing advanced joinery techniques, ensuring precision in your measurements, and applying professional finishes, you can create a system that is both functional and aesthetically pleasing. Remember, the key to a successful rain harvesting system lies in the details, so take your time and enjoy the process!
Frequently Asked Questions (FAQ)
1. What can I use harvested rainwater for?
Harvested rainwater can be used for irrigation, flushing toilets, washing clothes, and even drinking water if properly filtered and treated.
2. How much rainwater can I collect?
The amount of rainwater you can collect depends on the size of your catchment area and the average rainfall in your region. Generally, 1 inch of rain on a 1,000-square-foot roof can yield about 600 gallons of water.
3. Is a permit required for installing a rain harvesting system?
Permit requirements vary by location. It's essential to check with local authorities to ensure compliance with regulations regarding rainwater harvesting.
📚 Related Articles
🔨 Want 16,000+ Water System Plans?
Get instant access to step-by-step plans with blueprints and cut lists.
Get Instant Access →